Settings > Time Clocks
Time Clock List
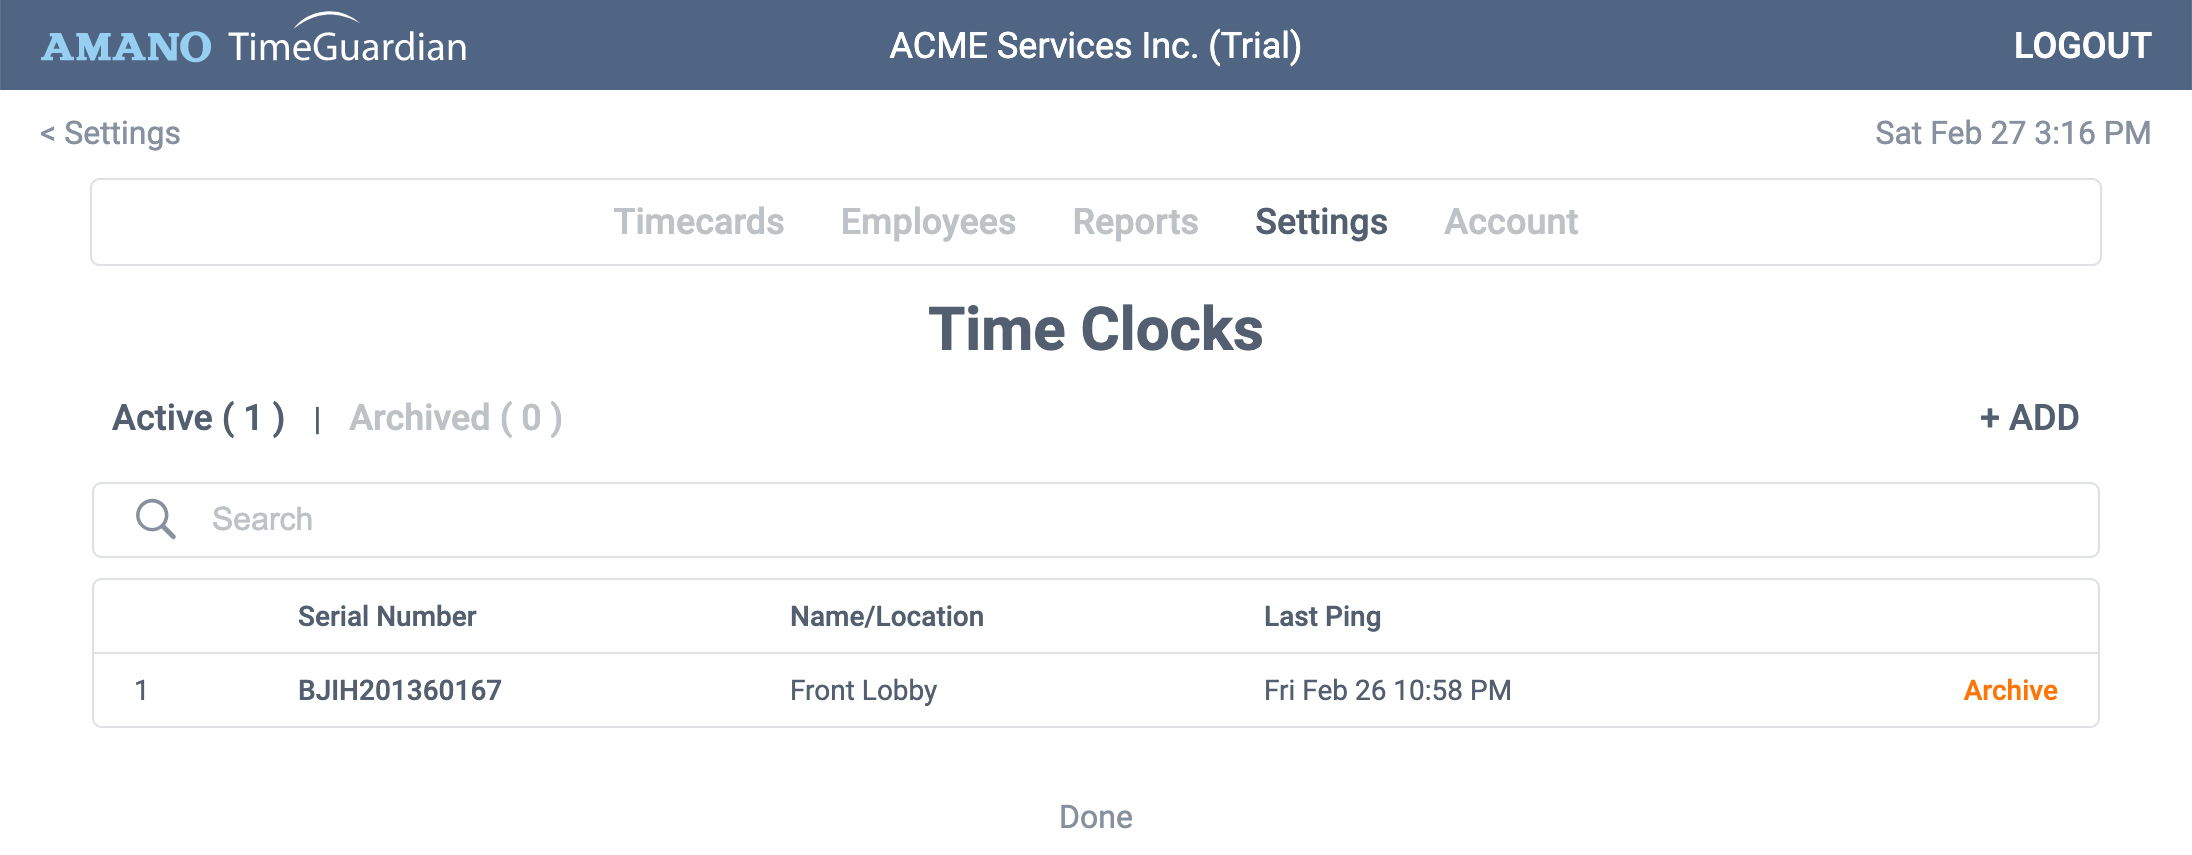
Connect one or more time clocks to your company. To learn how to connect a clock, please see our connect your clock section under getting started.
Add a Time Clock - Click the + ADD button.
Edit a Time Clock - Click the time clock row.
Archive a Time Clock - Click the Archive link at the right.
Time Clock > Settings
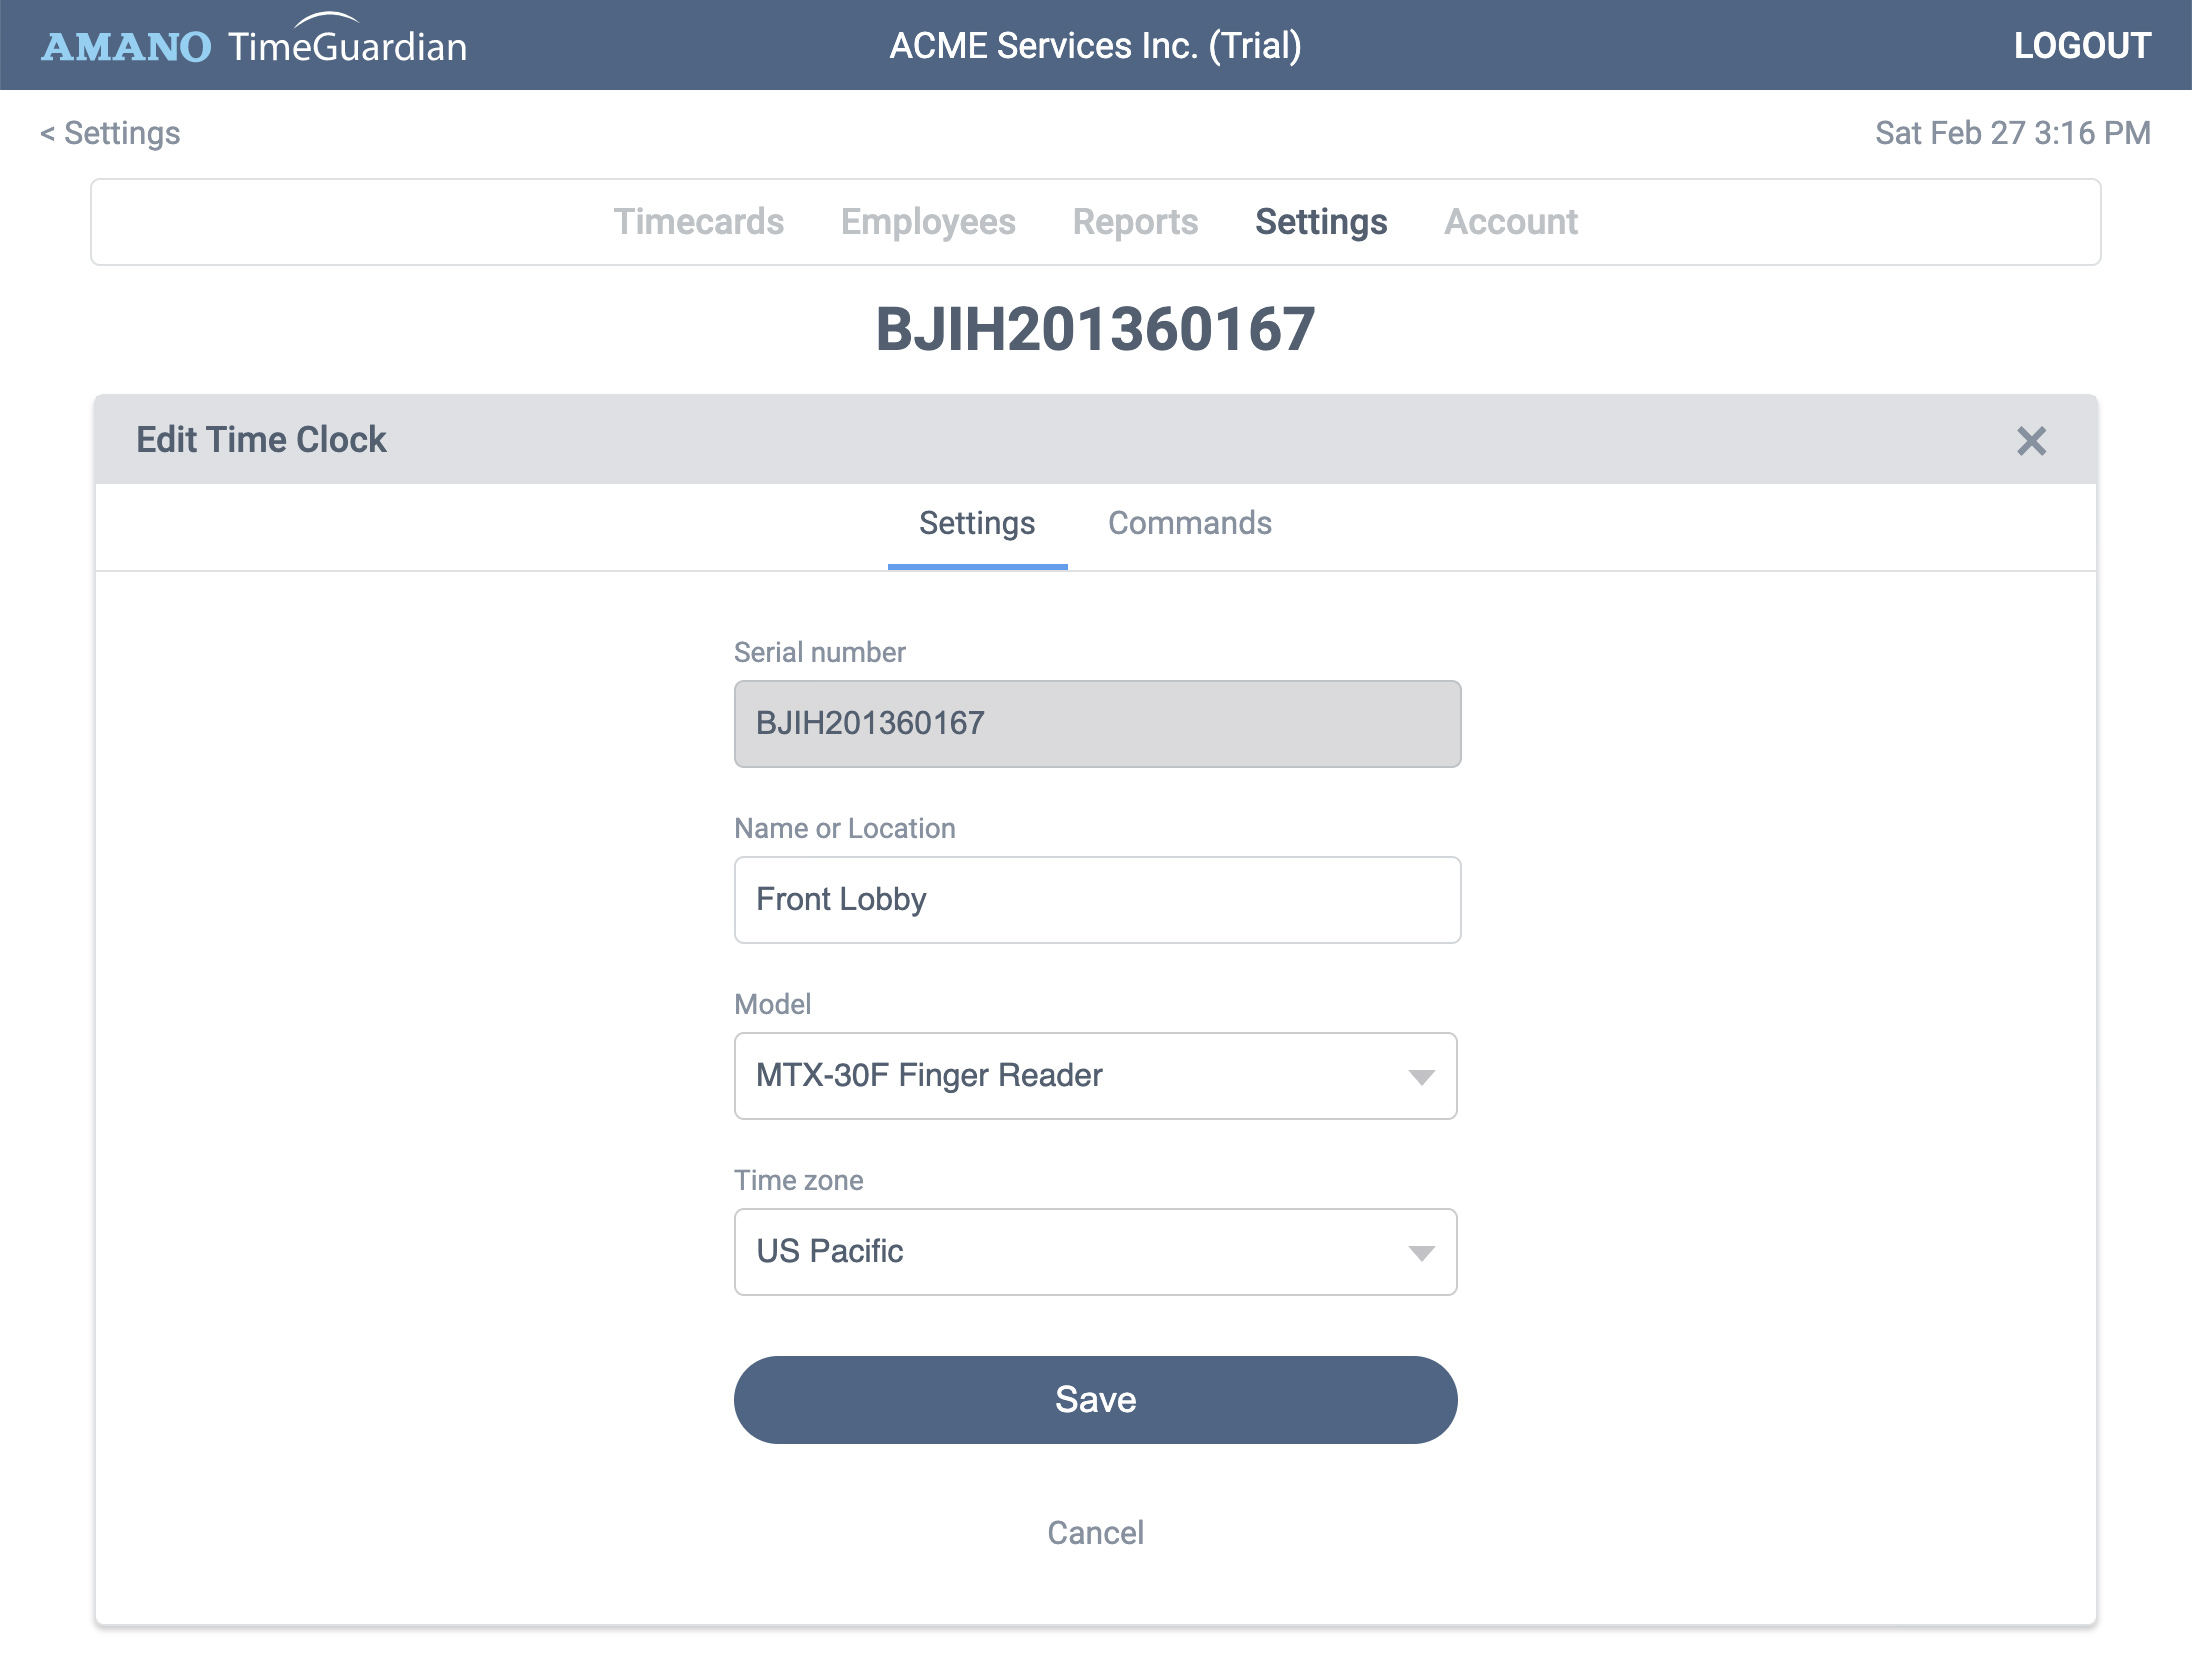
Serial Number - Your clocks serial number. Once entered it cannot be edited.
Name or Location - Identifies the clock by location. This location name will also appear on the detail of every clock punch.
Model - The type of clock you connected.
Time Zone - Sets the appropriate time sync between the clock and TimeGuardian servers.
Time Clock > Commands
TimeGuardian allows you to send commands to your clock. Once a command is sent, our servers wait until your clock makes the next Ping. Once it pings, the clock will answer to the requested command. Please allow up to 10 minutes for a command to be completed.

Reboot - Sends a command to the clock to turn off, then back on again. Useful, for example, if you need to change the time zone of the clock.
Transfer Employees to Clock - Sends your entire list of employees to this clock. Be aware this can take several minutes depending on how many employees you have.
Add Admin - Adds an admin user to the clock. When this happens, your clock menu will lock preventing unauthorized access.
Remove Admin - Removes the previously added admin from the clock. If no other admin users are on the clock, the menu will unlock.
Clear Data from Clock - WARNING this will remove all data from the clock. Please consult support if you are not sure.
Stop Sent Messages - Removes any pending commands to your clock.